

When the days grow shorter and the first night frosts drift over the beds, the great slicing begins in Eastern European kitchens. Kapusta – cabbage – is not just a side dish here but an elixir of life: a crunchy, sour powerhouse that supplies vitamins all winter long, when the garden has long gone to rest. And best of all: homemade sauerkraut beats any store-bought bag – in taste and in health. In this article you will learn why, how it works and which cabbage variety you should grow for it.
Why Homemade Sauerkraut Is So Healthy
Sauerkraut is one of the oldest superfoods in the world – long before there was a word for it. During fermentation, lactic acid bacteria transform the sugar in the cabbage into lactic acid. This creates not only the typical sour taste but a living food full of probiotic cultures that are good for the gut and the immune system.
Then there is the vitamin content: freshly fermented sauerkraut is a real vitamin C bomb – captains like James Cook once took it on long sea voyages against scurvy. Because nothing is cooked during fermentation, the vitamins are largely preserved. Store-bought sauerkraut in a bag, by contrast, is usually pasteurised, i.e. heated – the valuable living cultures are then dead. That is exactly why making it yourself pays off.
Dacha wisdom: «Where there is cabbage in the house, health lives there.»
From Field to Barrel: the Eastern European Tradition
The classic method uses large wooden barrels or stoneware crocks in which the finely sliced cabbage is pounded with salt until it releases its own juice. At its core, nothing more is needed: cabbage and salt. Nature does the rest.
What distinguishes the Eastern European version from the German one are the ingredients that go into the barrel:
- Carrots – finely grated, they add colour and a natural sweetness that makes the sauerkraut milder.
- Whole apples (Antonovka) – placed among the cabbage, they ferment along and are fished out of the barrel like a delicacy at the end.
- Lingonberries or cranberries – for a fruity-tart note and their preserving effect.
- Caraway, bay, juniper berries – the classic spices that improve aroma and digestibility.
The Right Cabbage: Why Not Every Head Will Do
Success is decided in the bed. Good sauerkraut needs firm, juicy heads with a high sugar content – because the sugar is the food for the lactic acid bacteria. A low-sugar, loose cabbage ferments poorly and tastes bland.
🥬 Our Cabbage for Fermentation
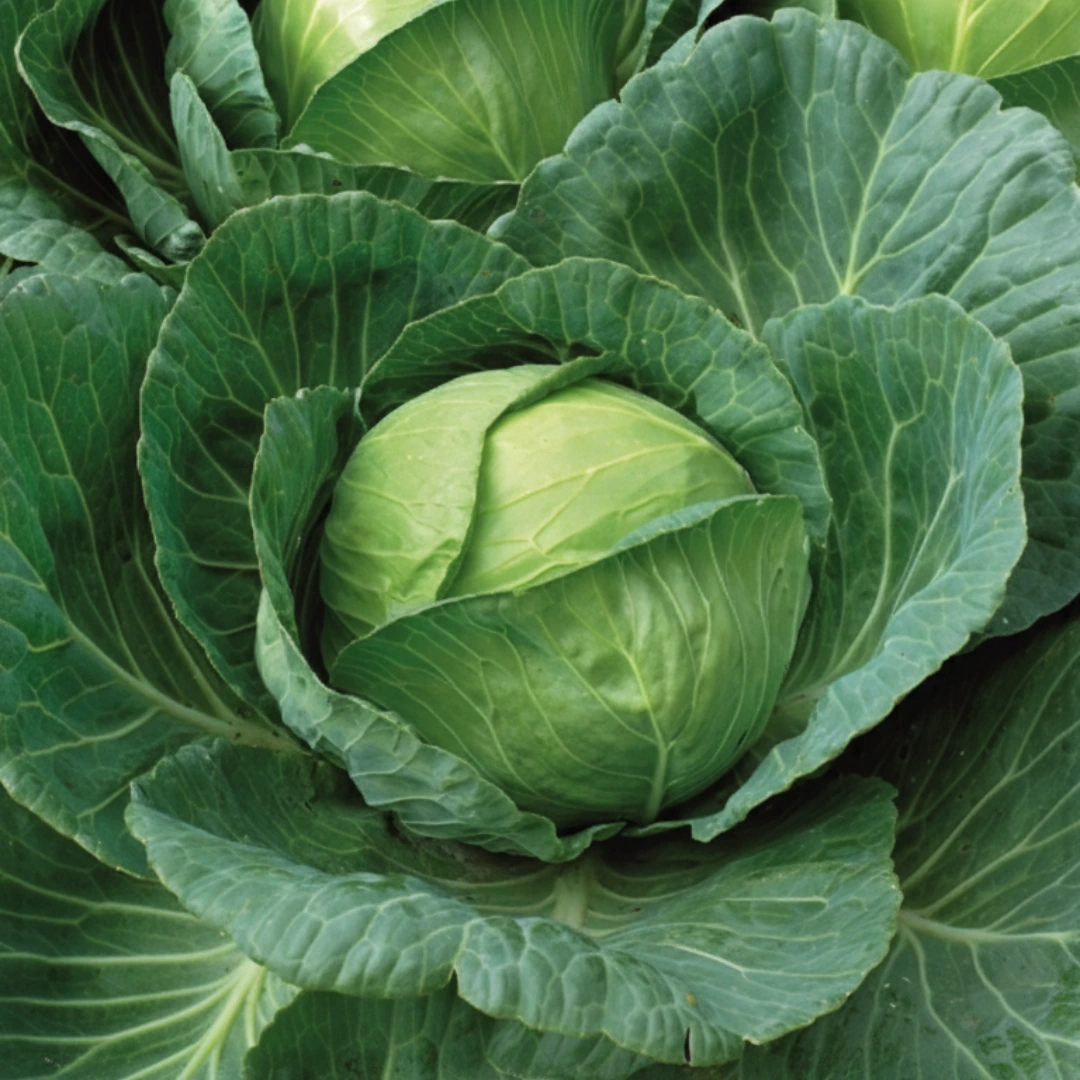
- White Cabbage Brunswick – this Brunswick heirloom is the classic sauerkraut cabbage par excellence. Its large, firm heads (2.5–3.5 kg) have an above-average sugar content – exactly what lactic fermentation needs. The result is an aromatic, well-balanced sauerkraut that low-sugar varieties can hardly achieve.
Growing tip: Start indoors from March/April, plant out by the end of May. Brunswick is a heavy feeder and needs rich soil and even watering – the latter also prevents the heads from splitting. This mid-late variety is ready after 120–130 days, so in autumn right in time for the fermentation season.
🥕 The Carrot for Sweetness
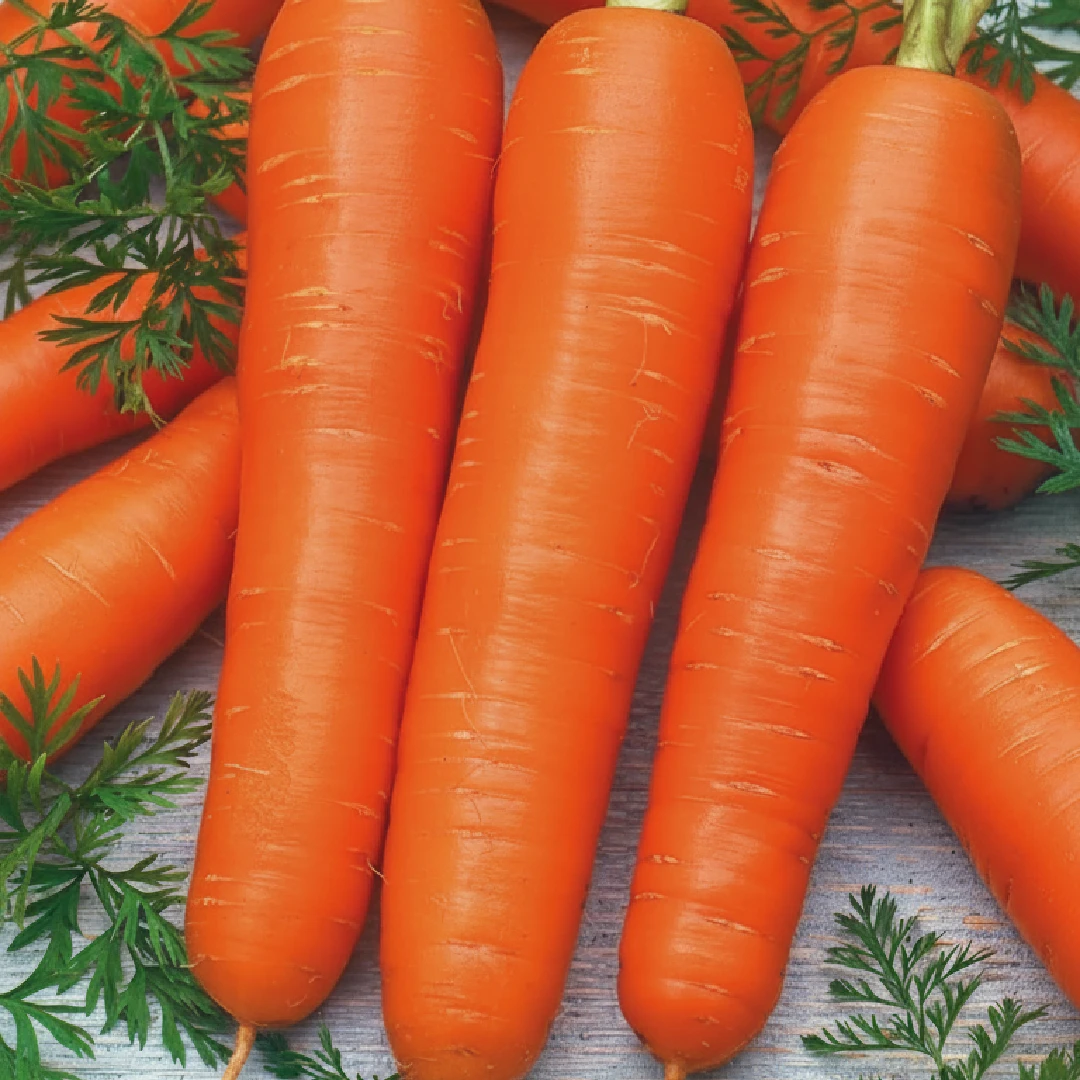
- Carrot Korala – this late, especially sugar-rich storage carrot brings colour and natural sweetness to the sauerkraut. As a storage variety it is ready in autumn exactly when the cabbage is cut.
💡 Bed schedule for the kapusta year: March/April – start cabbage indoors, sow carrots · May – plant out cabbage · Summer – water evenly, feed the heavy feeder · October – harvest, slice, pound · November–winter – let it ferment cool and enjoy all winter long.
The Recipe: Eastern European Sauerkraut With Carrots
For a 3-litre vessel · 30 min work · 1–2 weeks fermentation · no cooking
Ingredients
- 2 kg white cabbage (e.g. Brunswick), weighed without the core
- 2 medium carrots (approx. 200 g), coarsely grated
- 30–40 g salt without iodine or anti-caking agents (about 20 g per kg of cabbage)
- Optional: 1 tbsp caraway, 3–4 juniper berries, 1 bay leaf
- Optional: a handful of lingonberries/cranberries or 1 whole apple (Antonovka)
Method
- Slice: Quarter the cabbage, remove the core and slice finely. Set aside a few large outer leaves – they go on top later as a cover.
- Salt & knead: Knead and pound the cabbage and carrots vigorously with the salt in a large bowl. After 5–10 minutes the cabbage begins to release juice – keep kneading until there is enough brine to cover the cabbage later. Mix in the spices.
- Layer: Press the cabbage firmly into a clean vessel (stoneware crock, jar or fermentation pot) – pound layer by layer until no air bubbles remain and the brine stands above the cabbage.
- Weigh down: Place the reserved cabbage leaves on top and weigh down with a weight (fermentation stone, water-filled jar). The cabbage must lie completely under the brine – anything sticking out will spoil.
- Ferment: Cover loosely and let it start fermenting at room temperature (18–20 °C) for 3–5 days, then move somewhere cooler (cellar, 12–15 °C) for 1–2 weeks. It bubbles and smells sour-fresh – just as it should.
- Taste & store: Taste for the first time after 1 week. Once it tastes pleasantly sour, move it to the cool cellar or fridge. There the sauerkraut keeps for many months and continues to mature in flavour.
Barrel wisdom: The brine is gold. A glass of sauerkraut juice in the morning is one of the oldest home remedies in Eastern Europe – and not only after long nights.
Your Sauerkraut Begins in Spring
The best sauerkraut does not begin in autumn with the slicer but in spring with a seed packet. Plant the right cabbage in May and you harvest in October the foundation for a whole winter full of vitamins.
🌱 The kapusta bed to replant: White Cabbage Brunswick · Carrot Korala – both in our shop.
And when your first batch has finished fermenting: send us a photo to info@nasch-datscha.de – we collect the best sauerkraut stories of our community!
📖 Related from our blog
- 🥒 Fermenting crunchy salt pickles – fermentation for the ambitious
- 🍲 Borscht: history & recipe – your Brunswick cabbage in the soup pot
- 🌿 Dill, parsley & co. – growing and preserving herbs
